Guide to 3D Printing STL Files
Complete Guide to 3D Printing STL Files
3D printers produce three-dimensional parts via additive manufacturing methods. This technology adds material in layers to produce a 3D object. Most 3D printing software reads a file format known as STL (Standard Tessellation Language or Standard Triangle Language). The STL file format was originally native to 3D Systems’ stereolithography CAD (Computer Aided Design) software, but it has become a 3D printing industry standard. STL prescribes the outer shape of the model object. Before printing a 3D print model, the image must be transformed from the STL format to G-code (referred to as the printing machine code).
This article provides a complete guide to 3D printing STL files, including the process, description, and the format’s pros and cons.
What Is an STL File?
An STL file is the digital file format that 3D printers and slicing programs can read. It defines the surface geometry of the object in a simplified, purely geometrical manner, ignoring aesthetics.
1. Recognize the STL Resolution.
To print a part with the proper specifications, the STL file must be built at an appropriate resolution. STL files define the 3D model’s outer shape by subdividing the surface into interconnected triangles. At higher resolution, the CAD program breaks the model down into smaller triangles so it can more closely approximate the desired shape. Reducing resolution, likewise, creates a less accurate approximation and is thus less desirable. However, there is a balance. As the digital resolution increases, the file size grows dramatically. Large files overtax both the design and printing computer. And since every 3D printer has a physical resolution limit, there is no benefit to exceeding that resolution in the digital STL model.
2. Select the Appropriate Exporting Settings.
The export settings can impact the quality, dimensional accuracy, and surface finish of the 3D printed part. Those settings must be selected in the CAD software before converting the model to STL format. Most programs require you to specify two key settings when you export: the chordal tolerance/deviation and the angular tolerance/deviation.
The chordal tolerance/deviation defines the maximum allowable divergence (in microns) between the as-designed CAD surface and the surface of an STL triangle face. Most experts recommend a chord deviation of about 1/20th of the printer’s layer thickness, but not less than 1 micron.
3. Export STL Files From Your CAD Software.
Nearly all CAD programs can export files in STL format, but each one does it a little differently. Most often, the export option will be found under ‘File’ and ‘Save as,’ but it’s best to consult your specific software’s documentation if you’re unsure. The export menu is often where you specify chord and angular tolerances as well as properties like poly count. You may also have the option of saving in binary or ASCII format.
The angular tolerance/deviation, on the other hand, defines how far the exported model can deviate from any given angle in the CAD model. The standard recommended setting is 15°. Some programs define angular tolerance as a value between 0 and 1 with 0 equating to 15°. Angular tolerance is important in small angular features that might get cut off because they’re smaller than the chord tolerance.
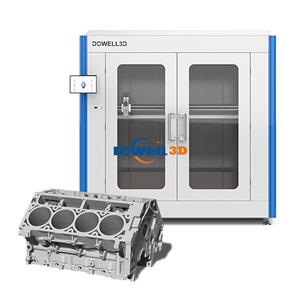
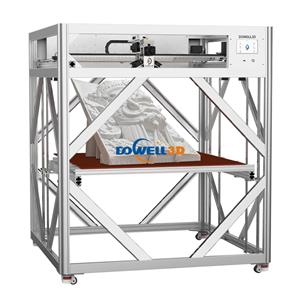
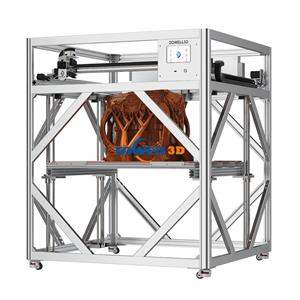
Then you can import to Dowell 3d's slice software to slicing, export to gcode, conntect to Dowell3d large FDM 3d printer directly print.