First Layer Not Sticking? Try These 4 Tips
One of the most common frustrations for 3D printer users—whether you're using a professional 3D printer or a
high-precision 3D printer—is watching your first layer fail. A poorly adhered first layer can ruin an entire print,
waste filament, and cost you hours of work. Large-format industrial 3D printers, in particular, make this problem
more noticeable because even minor adhesion issues become magnified on bigger prints.
If your first layer isn't sticking, here are four practical tips to get your prints started right.
1. Level Your Print Bed Carefully
A level bed is essential for a strong first layer. Even the slightest unevenness can prevent the filament from
adhering correctly. Use a feeler gauge or the built-in bed leveling feature if your printer has one. For large-scale
prints, like those produced by industrial 3D printers, taking the extra time to ensure every corner is perfectly
level can save you hours of troubleshooting later.
Pro tip: After leveling, test with a small skirt or a thin first layer to verify adhesion across the entire bed.
2. Adjust Your First Layer Settings
Your slicer software usually allows you to adjust first layer settings such as speed, height, and extrusion width.
Slowing down the first layer and slightly increasing extrusion can help the filament bond better to the bed.
Many high precision 3D printer users find that a thicker first layer (around 0.2–0.3 mm) helps prevent lifting
or curling.
Pro tip: If your printer supports variable layer height, consider a slightly thicker first layer for large prints to
maximize adhesion without compromising precision.
3. Optimize Bed Temperature and Surface
Bed temperature plays a key role in filament adhesion. PLA typically sticks well at 50–60°C, while ABS may require
90–110°C. Additionally, ensure your build surface is clean and free of oils or dust. For large professional 3D printers,
a flexible build plate or PEI sheet can make first layer removal easier while improving adhesion.
Pro tip: Some users lightly apply a thin layer of glue stick or specialized adhesion spray for tricky filaments,
but always test first to avoid residue on your prints.
4. Use the Right Filament and Storage Practices
Even the best 3D printer can struggle if the filament isn't in good condition. Moisture-absorbed filament can cause
inconsistent extrusion, leading to poor first layer adhesion. Keep your filament dry in airtight containers with
desiccants, and make sure to use filament recommended for your printer.
Pro tip: For industrial 3D printers producing large-scale objects, using high-quality filament ensures consistent
flow and reduces the risk of adhesion failure.
Why This Matters for Large-Scale 3D Printing
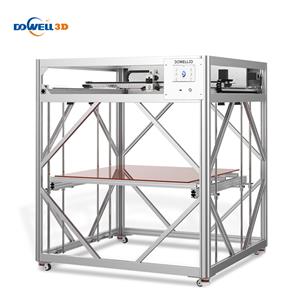
Getting the first layer right isn't just a small detail—it's critical for large professional 3D printers. Machines with
big build volumes, like Dowell 3D's large-format 3D printers, demand precise first layer adhesion across a wide area.
Following these tips ensures your prints start strong and reduces the risk of warping or detachment. A properly
prepared first layer means more reliable prints, less wasted filament, and smoother production for both hobbyists
and industrial users.
By paying attention to bed leveling, first layer settings, bed temperature, and filament quality, you can solve most
first layer issues without frustration. Whether you're printing prototypes, custom parts, or large functional objects,
mastering the first layer is the first step to professional-quality results.