Mastering Post-Processing: How to Finish Your 3D Printed Parts Like a Pro
3D printing has revolutionized manufacturing, prototyping, and custom fabrication, but anyone who has spent
hours watching a large-format 3D printer in action knows the work doesn't stop when the print finishes. Post-
processing is where your 3D printed parts truly come to life, transforming rough, layered prints into polished,
functional components. Whether you're working with small prototypes or industrial-scale models, mastering
post-processing is essential for achieving professional results.
Understanding Post-Processing
Post-processing covers all the steps taken after a print finishes. Depending on your filament, part geometry, and
intended use, these steps can include support removal, sanding, polishing, painting, and assembly. For industrial
applications, especially with industrial 3D printers capable of producing large, complex parts, post-processing isn't
optional—it's a crucial part of delivering high-quality results.
Common challenges in post-processing include:
Layer lines that are too visible on large prints
Warping or slight dimensional inaccuracies
Surface roughness that affects mechanical performance or aesthetics
Recognizing these challenges early helps you plan your workflow more efficiently and reduces wasted time.
Step 1: Support Removal
For prints created with overhangs or intricate structures, supports are inevitable. The first step is carefully removing
them without damaging your part. For large parts printed on a large-format 3D printer, this can be tricky—manual
removal might be time-consuming, so using proper tools like pliers, flush cutters, or even a deburring tool can make
a big difference.
Tip: Take your time and remove supports in stages, especially for delicate or thin structures.
Step 2: Sanding and Smoothing
After removing supports, sanding is your best friend. Sanding smooths out layer lines and prepares the surface for
painting or coating. Start with coarse grit (around 100–200) to remove visible lines, then gradually move to finer
grits (400–800) for a polished finish.
For industrial parts, especially those printed in large sizes, investing in a sanding station or rotary tools can save
hours and provide consistent results.
Pro tip: Wet sanding reduces dust and prevents filament overheating, which is particularly useful when working with
large, heat-sensitive parts.
Step 3: Filling Imperfections
Even after sanding, some prints may have small gaps or surface imperfections. A filler compatible with your filament
type can fill these voids, creating a smooth surface ready for painting or coating. For industrial-scale parts, consider
lightweight fillers that don't add unnecessary weight but still provide excellent adhesion.
Step 4: Priming and Painting
Priming ensures your paint adheres evenly and highlights any remaining imperfections. Once primed, you can apply
paints or coatings to match your project's functional or aesthetic requirements. Industrial users often favor spray
applications for large parts, which ensure even coverage without leaving brush marks.
Remember: Even the most capable industrial 3D printer can't make a print look finished without proper surface treatment.
Step 5: Polishing and Coating
For parts that need extra smoothness or a professional sheen, polishing is the final touch. Depending on your filament,
you may also apply protective coatings to enhance durability, UV resistance, or chemical resistance. For large-format
components, especially functional prototypes, coatings can also strengthen the part's surface without affecting its
structural integrity.
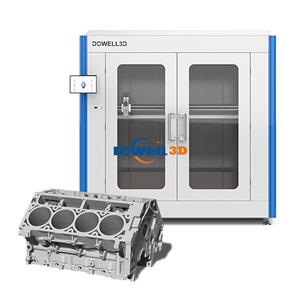
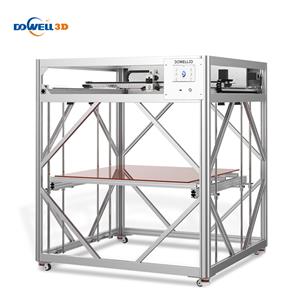
Choosing the Right 3D Printer for Better Post-Processing
While post-processing is crucial, it's important to start with a print that minimizes problems. High-quality large format
3D printers from Dowell 3D reduce common post-processing headaches with features like:
Stable, precise motion for smooth layer lines
Large build volumes for printing industrial-scale components in fewer parts
Compatibility with a wide range of filaments
By combining the right printer with a careful post-processing workflow, you can take your parts from raw prints to
professional-grade components with less effort.